A beautiful vanity can still become a daily headache when the pipes behind it were planned like an afterthought. Double vanity plumbing has to do more than feed two faucets and drain two bowls; it has to line up with cabinet drawers, wall framing, trap arms, shutoff valves, mirror placement, and the way two people actually use the room on a rushed weekday morning. For many U.S. homeowners, the trouble starts before tile, countertops, or fixtures ever arrive. The rough-in decides whether the finished bathroom feels calm or constantly annoying. A smart plan also protects your budget because moving a drain after drywall is closed feels painful in a way no showroom decision does. Homeowners comparing layout ideas through practical home improvement resources should treat plumbing as part of the design, not the invisible stuff that happens later. The best master bathrooms are not lucky. They are measured, marked, checked, and questioned before a single vanity box is set in place.
Planning the Vanity Wall Before Pipes Go Anywhere
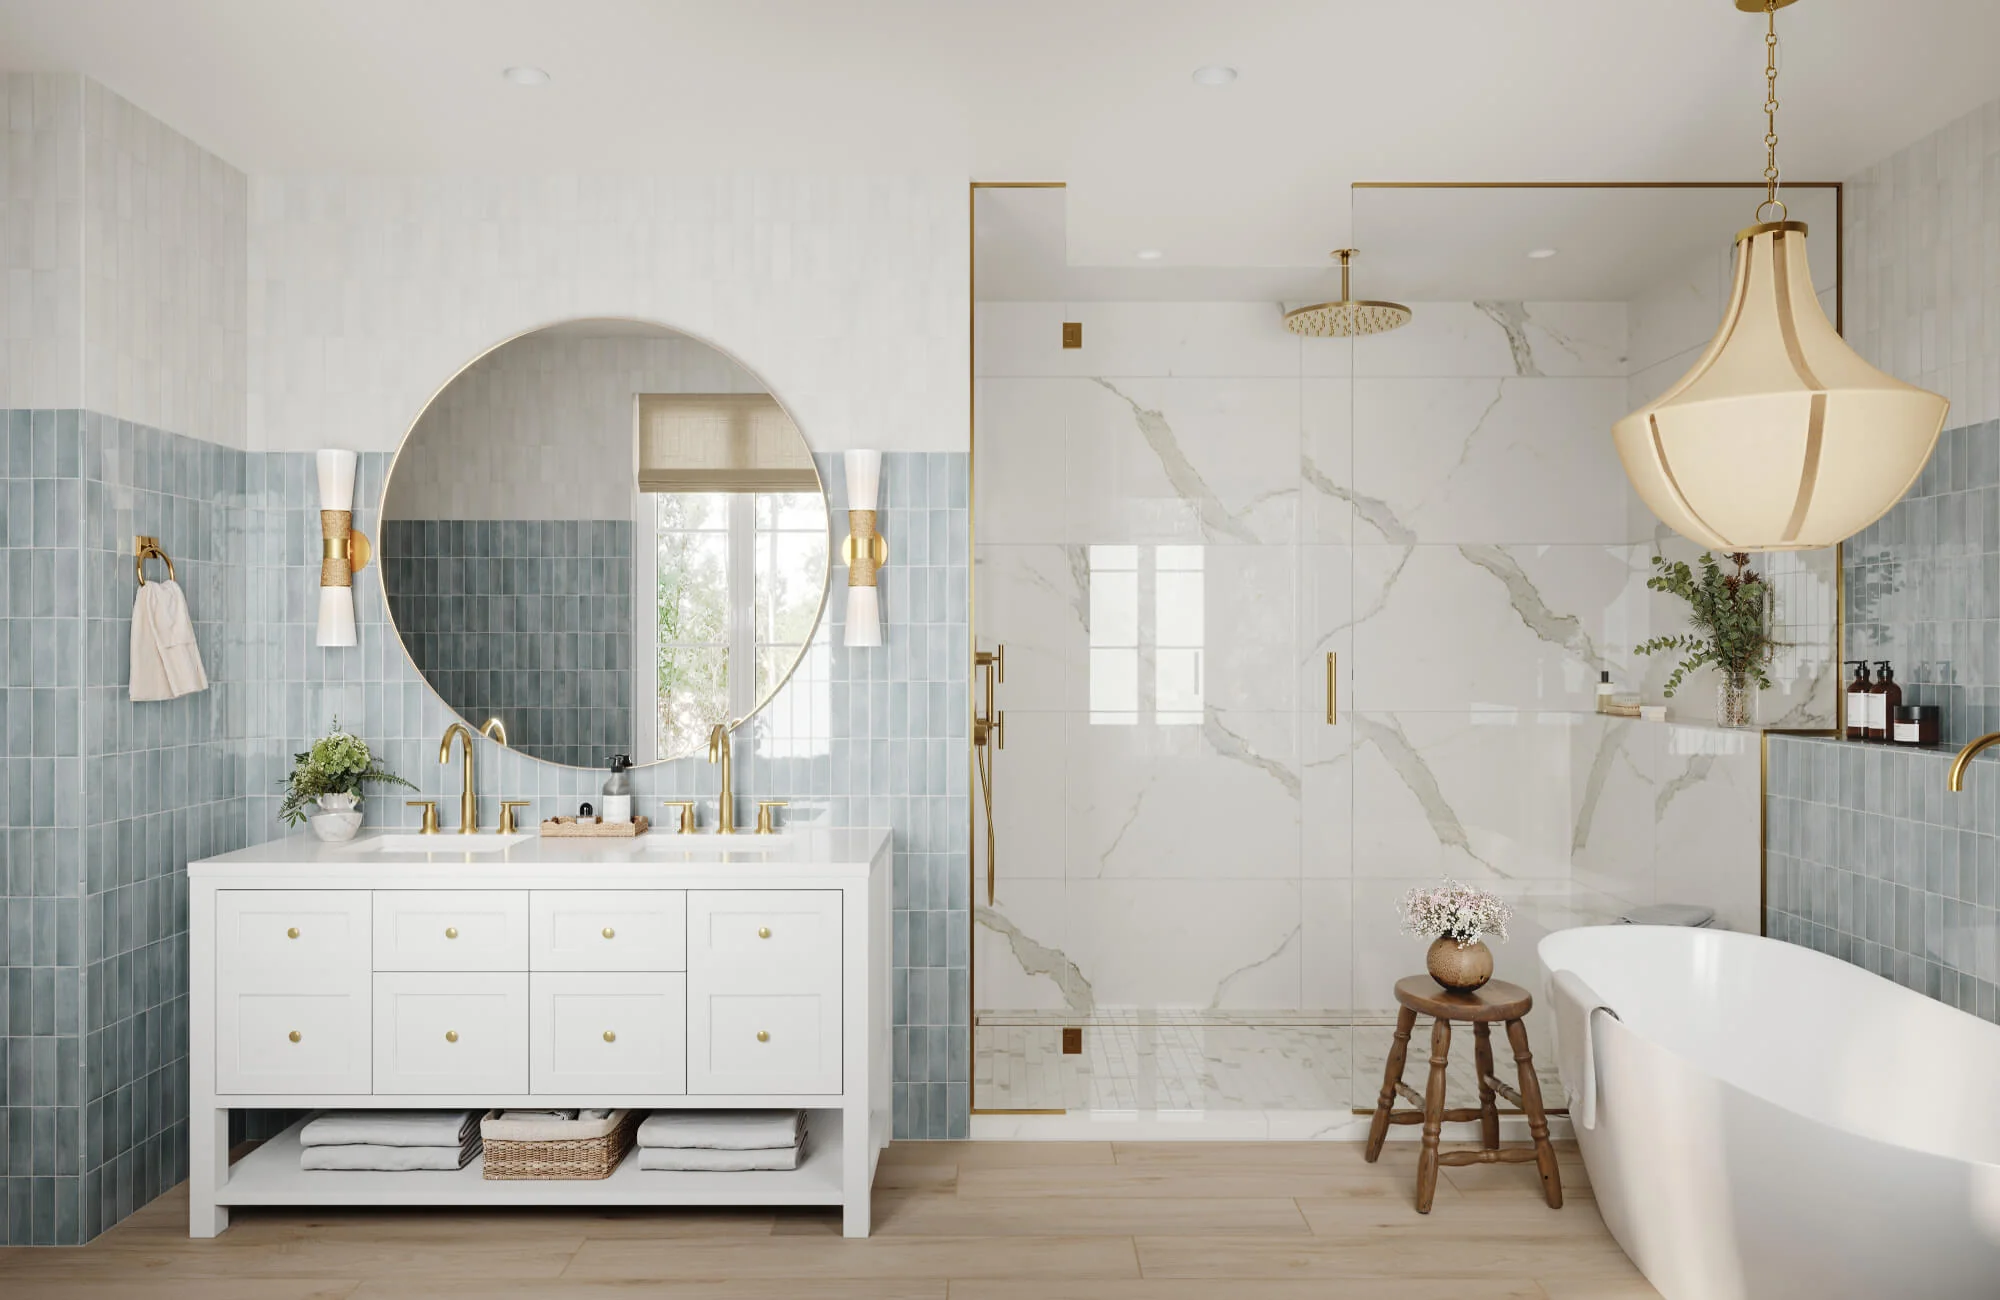
Good bathroom work starts with the wall, not the faucet catalog. A master vanity wall carries more decisions than it first admits: sink spacing, drawer banks, mirrors, sconces, outlets, medicine cabinets, baseboard returns, and sometimes a shared wet wall with a shower or toilet. When the plumbing gets marked before those pieces are understood, the room can look fine on paper and feel wrong every morning.
A double sink setup needs discipline early because two basins double the chances of small mistakes. The rough-in should match the cabinet you will install, not a vague idea of “standard vanity.” A 72-inch vanity with center drawers behaves differently from two separate 30-inch sink bases with a storage tower between them. That difference matters inside the wall.
Why Cabinet Layout Should Lead Master Bathroom Vanity Plumbing
Cabinet layout decides where pipes can safely land. Many homeowners assume the sink bowls control everything, but drawer stacks and center dividers are often the real bosses. A drain that lands in the back of a deep drawer bay may force awkward notching, lost storage, or a field repair that looks like someone panicked with a hole saw.
Master bathroom vanity plumbing works best when the cabinet spec sheet is on site before rough-in. That means the plumber, contractor, or skilled DIY homeowner knows the exact sink centerlines, drawer locations, toe-kick depth, and back-panel clearances. A common U.S. master bath mistake is buying the vanity after the pipes are already placed. The result is a cabinet that almost fits. Almost is expensive.
A better approach is simple: tape the vanity width on the floor, mark each sink center on the wall, and sketch the drawer zones before pipes are cut. This low-tech step catches problems that digital renderings miss. In a real home, the stud bay does not care about your online product photo.
How Sink Spacing Changes the Whole Wall
Sink spacing is not only about comfort at the counter. It affects drain paths, water supply routing, mirror symmetry, lighting locations, and the way two people stand side by side. A double vanity with sinks too close together can feel like a hotel hallway, while sinks too far apart may push basins into drawer conflicts or leave poor landing space near the edges.
A bathroom sink drain layout should account for each basin center, the trap location below it, and the wall drain position behind it. Some vanities use two separate wall drains. Others connect both sinks through one shared drain line, depending on local code, cabinet design, and plumber preference. The choice should not be made because one path is faster. It should be made because it serves the room cleanly.
A counterintuitive truth shows up here: more distance between sinks is not always better. In a wide master bath, homeowners often spread the sinks toward the ends, then lose useful shared counter space in the middle. A slightly tighter sink placement can create better storage, better lighting, and easier pipe routing. Comfort lives in inches.
Double Vanity Plumbing Rough-In Measurements That Matter
Measurements are where a rough-in turns from theory into a room you can live with. Double vanity plumbing must respect the finished floor height, countertop height, sink depth, trap clearance, backsplash thickness, and wall finish. A measurement taken from the subfloor can betray you later after tile, underlayment, and mortar raise the finished surface.
Most rough-in errors are not dramatic. They are off by two inches, hidden for three weeks, then discovered when the vanity slides into place. That is the cruel part. The mistake was small when it happened, but large when it is found.
Standard Vanity Rough In Height Is a Starting Point, Not a Promise
Vanity rough in height often falls around common trade ranges, but no single number should be treated as law for every home. The drain height must work with the sink bowl depth, trap size, cabinet shelf, and finished countertop height. A vessel sink, undermount sink, and integrated vanity top can each need a different approach.
In many master baths, comfort-height vanities have become common because homeowners want counters closer to kitchen height. That changes the relationship between the drain, P-trap, and supply stops. A rough-in that worked well for an older 30-inch vanity may feel cramped or oddly low behind a modern 36-inch cabinet.
The wiser move is to work backward from the actual fixture. Measure the finished floor to the countertop, note the sink depth below the counter, then confirm trap clearance inside the cabinet. The wall should serve the fixture package, not an old rule someone remembers from a different bathroom.
Where Dual Sink Water Lines Should Land
Dual sink water lines need enough separation to remain serviceable. Each faucet normally gets hot and cold supplies, and each pair should be close enough to the sink center to connect cleanly without strained hoses. At the same time, supply stops must avoid drawer slides, center panels, and the back of pull-out organizers.
The ugly version of this mistake is easy to spot. Open a vanity door and you see flexible supply lines stretched across the cabinet like guitar strings. That usually means the wall was roughed in without the cabinet plan. It may work, but it makes future faucet service harder and looks careless.
A cleaner layout keeps each hot and cold stop near its faucet zone, with enough room for a hand to shut off water later. In a busy American household, that matters. When a faucet cartridge fails on a Tuesday night, nobody wants to unload half the vanity to reach a valve hiding behind a drawer box.
Drain Strategy, Venting, and Code Reality
Drain planning is where confidence can get people into trouble. A drain line may look simple from the front of a vanity, but the wall may be dealing with studs, vents, slope, trap arm limits, and connections to the main stack. The finished room hides those choices, so they have to be right before drywall.
Every U.S. homeowner should treat local code as part of the design process. Plumbing rules vary by jurisdiction, and inspectors may read details differently depending on the adopted code and local amendments. The safe habit is to confirm the plan before the wall closes, especially when one drain serves two sinks.
Choosing One Drain or Two for a Bathroom Sink Drain Layout
A bathroom sink drain layout can use separate drain connections for each basin or a shared arrangement that ties both sinks together. Separate drains can make the layout cleaner inside each sink base, especially when the vanity has divided storage. Shared drains can work well in some walls, but they need proper fittings, venting, and slope.
The tempting shortcut is to tie one sink into the other under the cabinet and call it done. That can create slow draining, gurgling, odor issues, or a trap arrangement that an inspector will reject. The drain path should not depend on hope. Water is patient, and it punishes lazy geometry.
An unexpected advantage of two wall drains is service access. If one side clogs or needs work, each basin has a cleaner path to troubleshoot. That does not mean two drains are always required or always better. It means the decision deserves more thought than “which one is cheaper today?”
Venting Details That Homeowners Should Never Ignore
Venting protects the trap seal, and the trap seal protects the bathroom from sewer gas. That sounds plain, but it is where many rough-ins fail quietly. A sink can drain for a while even with poor venting, then start gurgling, smelling, or pulling water from the trap when another fixture runs nearby.
In a master bath, the vanity may share a wall with a toilet, shower, tub, or laundry chase. That nearby plumbing can help or complicate the vent plan. The plumber needs to know how both sinks connect, how far the trap arms run, and where the vent rises. Guessing after the wall is framed is not planning.
A good vent plan also avoids cutting too much structure. Horizontal holes through studs, bored at poor locations, can weaken a wall or create trouble for future fasteners. The pipe path should respect both plumbing function and framing strength. That is the quiet craft behind a bathroom that never calls attention to itself.
Coordinating the Rough-In With Fixtures, Finishes, and Inspection
The rough-in stage sits between design dreams and finished reality. It is also the last moment when changes are still cheap enough to make without regret. Once drywall, tile, and cabinetry arrive, every correction becomes slower, messier, and more emotional.
A smart homeowner does not need to micromanage every fitting. Still, you should know what to check before the wall closes. The inspection stage is not a formality. It is the pause that confirms the work hidden behind the vanity deserves to stay hidden.
How Finished Materials Shift the Final Fit
Finished materials change measurements in ways people forget. Floor tile raises height. Wall tile or thicker backer board moves the finished wall surface forward. A stone backsplash can affect faucet reach, mirror spacing, and escutcheon clearance. None of these changes feel huge alone, but together they can make a neat rough-in feel cramped.
Vanity depth matters too. A 21-inch-deep vanity gives more room than a shallow cabinet made for a tight bath. If the drain and supplies project too far from the wall, the cabinet back may need ugly cuts. If they sit too low, the trap may fight the bottom shelf.
The better habit is to mock up the finished surfaces before final pipe placement. Mark finished floor height, finished wall depth, counter height, and sink centers. This takes minutes and saves the kind of repair nobody wants to explain after spending thousands on a master bath.
Inspection, Access, and Future Repairs
Inspection protects more than code compliance. It protects the homeowner who will live with the work for the next decade. Before drywall covers the wall, check that pipes are secured, drain slope is correct, supply lines are protected from nail hits, and shutoff valves will remain reachable after the vanity is installed.
Double-checking double vanity plumbing before inspection also helps catch layout drift. A pipe may be technically allowed but still poorly placed for the cabinet. Code approval does not always mean the vanity installer will be happy. Both standards matter.
Future access deserves respect. Cleanouts, shutoffs, traps, and supply connections should be reachable without destroying drawers or cutting finished panels. The hidden mark of good work is not that nobody sees it. The mark is that, years later, someone can repair it without cursing the person who built it.
A master bathroom should feel calm because the hard thinking already happened behind the wall. The vanity, mirrors, lighting, and stone may get the compliments, but the plumbing decides whether the room works every single day. Treat the rough-in as a design decision, not a trade detail to rush through. Measure from finished surfaces, match the pipes to the actual cabinet, confirm the drain and vent plan, and leave room for service. Double vanity plumbing rewards patience because every inch you settle now becomes part of your daily routine later. Before closing the wall, walk the layout with the cabinet plan in hand and ask one blunt question: will this still make sense when something needs repair? Get that answer right, and the finished bathroom will feel built on purpose.
Frequently Asked Questions
What is the best rough-in height for a two-sink bathroom vanity?
The best height depends on the vanity, sink depth, countertop height, and trap clearance. Many projects fall within common trade ranges, but the safest plan is to measure from the finished floor and confirm the exact fixture specs before pipes are set.
Can two bathroom sinks share one drain line?
Two sinks can share a drain in some layouts when the fittings, slope, trap arrangement, and venting meet local code. The plan should be checked before drywall because a shared drain done poorly can cause slow draining, gurgling, or inspection failure.
Should each sink in a master vanity have separate shutoff valves?
Each faucet should have its own hot and cold shutoff valves. Separate stops make repairs easier because one faucet can be serviced without shutting water off to the whole bathroom or disturbing the other sink.
How far apart should two vanity sinks be?
The spacing should match the vanity width, sink size, drawer layout, and counter space needs. Many homeowners focus only on elbow room, but center drawer clearance and mirror placement often matter as much as the distance between bowls.
Why does my new two-sink vanity drain slowly?
Slow draining can come from poor slope, bad venting, undersized connections, trap problems, or an awkward shared drain layout. A plumber should inspect the trap arms and vent path before assuming the issue is only a clog.
Can plumbing be moved after the vanity is installed?
It can be moved, but it usually costs more after the vanity, drywall, tile, or countertop are in place. Rough-in changes are cheaper and cleaner before finishes are installed, so layout checks should happen early.
Do wall studs affect sink drain placement?
Studs can affect drain and supply locations because pipes need safe paths through the wall. Poorly planned holes can weaken framing or force the drain away from the sink center, so plumbing and framing should be reviewed together.
What should I check before closing the vanity wall?
Check sink centerlines, drain height, supply valve location, pipe support, vent path, cabinet clearance, and access for future repairs. The goal is not only passing inspection but making sure the finished vanity fits and functions without awkward cuts.